Last Updated on June 26, 2022 by Oktay Sari
What does going passwordless mean to you? Think about that for a minute. It’s a long journey and we can’t get there in a few clicks. I’ve seen a lot of different implementations, but to me, going passwordless means password freedom. It means I no longer need to remember a complex string of letters, numbers, and special symbols. Suppose that I never received a password to begin with. Sounds pretty good, right? In a previous post I talked about Passwordless authentication with windows 10 and Azure AD and how to setup a FIDO2 security key.
In this post, we’ll look at Temporary Access Pass (TAP) to register a strong authentication method like the Feitian ePass NFC Plus FIDO2 Security key. A Temporary Access Pass is a time-limited passcode you can give to your users. It satisfies strong authentication requirements and users can register other authentication methods, including Passwordless ones.
We will create a user, that doesn’t know the password to begin with. Sounds like password freedom to me 😉.
There are some requirements to keep in mind:
- Enable passwordless authentication methods in Azure AD
- Enable passwordless security key sign in to Windows 10
- Azure AD Multi-Factor Authentication
- Enable Combined security information registration
- Compatible FIDO2 security keys
- For Azure AD joined devices the best experience is on Windows 10 version 1903 or higher.
- Hybrid Azure AD joined devices must run Windows 10 version 2004 or higher.
Passwordless Authentication methods
I have enabled the following three Authentication methods in my test-tenant:
- FIDO2 Security Key
- Temporary Access Pass (Preview)
- Microsoft Authenticator
You might want to consider enabling the Microsoft Authenticator method while you’re at it, but do read the Microsoft documentation first!

Enabling Temporary Access Pass
Update: TAP is now General available!
Go to the Azure portal and sign in as a Global admin.
Click Azure Active Directory > Security > Authentication methods > Temporary Access Pass.
Then Enable TAP, and configure the additional settings. Have a look at the Microsoft documentation about Temporary Access Pass for more info.

To see how to enable FIDO2 Security Key, read my previous blog. That’s it. You’ve configured 2 authentication methods in Azure.
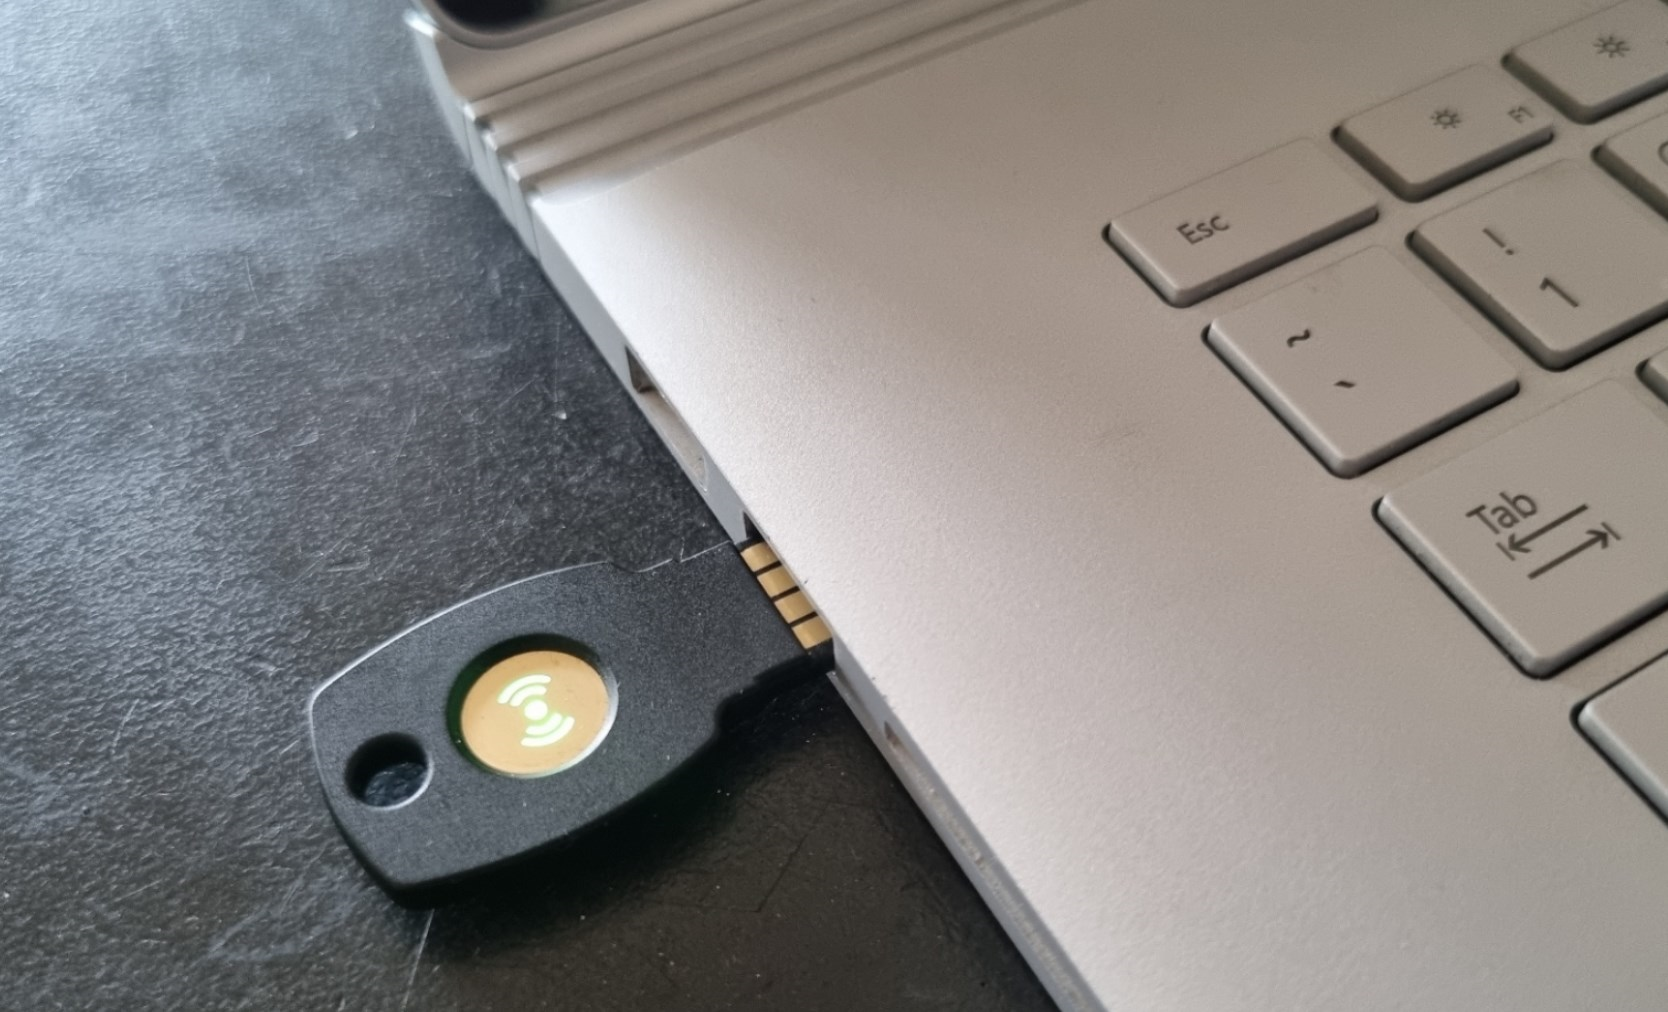
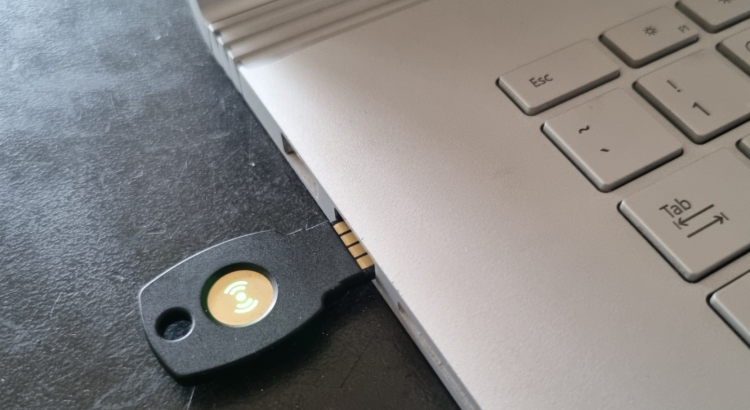
Feitian ePass NFC Plus FIDO2 Security key
For this test, I’m going to setup the Feitian ePass NFC Plus (K9) FIDO2 Security key. Other than the default USB interface, you can also register this key using NFC and that is great for mobile phones and other devices (like the surface line) that support NFC. It supports Android, iOS, Chrome OS, Windows, MacOS and Linux. Furthermore, it also supports OATH TOTP which is supported by Azure AD.
I have been using this key for a couple of weeks on my keychain. Configured different accounts and it works like a charm with both USB and NFC. A nice solid piece of key-like plastic with no flex or anything. I have dropped it, stepped on it, and submerged it when trying to get my dog out the water. Other than a little wear and a few nicks in the plastic there’s nothing wrong with it.
In This post, I will focus on Windows 11 and browser sign-in with the Feitian ePass NFC Plus FIDO2 Security key. Another post is going to be about Android mobile devices and this same key. Once again, a big thank you goes out to Della Han from “FEITIAN Technologies Co., Ltd.” For providing the security keys for testing.
User account setup
I have setup a user account with a very complex and random password and did not configure any authentication methods yet.
Update: TAP is now General available!

Let’s add TAP as the authentication method:
- Click on Add authentication method
- Choose TAP as the preferred method
- Set the activation duration
- Set One-time-use (if set to Yes, the TAP can only be used once)
- Click on Add
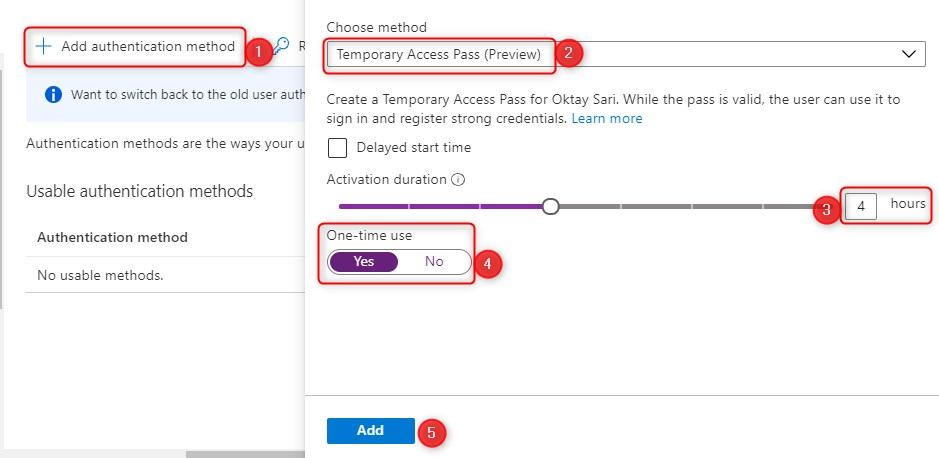
When you click on Add, it will show you the temporary access pass. This is what you need to share with your user.

Note: Before you click on OK make a note of the temporary access pass because after clicking OK, there is no way to show the TAP again. If you did not take a note, you will have to create another TAP.
Note: Don’t forget to have a look at Jan Bakkers‘s in depth post on How to build a PowerApp – Temporary Access Pass Manager. Very useful!
Temporary Access pass User experience – Setup
Update: TAP is now General available!
Previously you could use the TAP during Windows Autopilot enrollment but Microsoft decided to disable that.
“A Temporary Access Pass cannot be used with the Network Policy Server (NPS) extension and Active Directory Federation Services (AD FS) adapter, or during Windows Setup/Out-of-Box-Experience (OOBE), Autopilot, or to deploy Windows Hello for Business. “
Update: Since TAP is general available, Microsoft made some changes and I’m happy to read that you can also use TAP while enrolling a device with Autopilot:
I quote: “Users with a Temporary Access Pass can navigate the setup process on Windows 10 and 11 to perform device join operations and configure Windows Hello For Business”
Remember that a TAP does NOT replace a user password! So how can we enable a user to sign in without a password? That is where the TAP and the security key comes in.
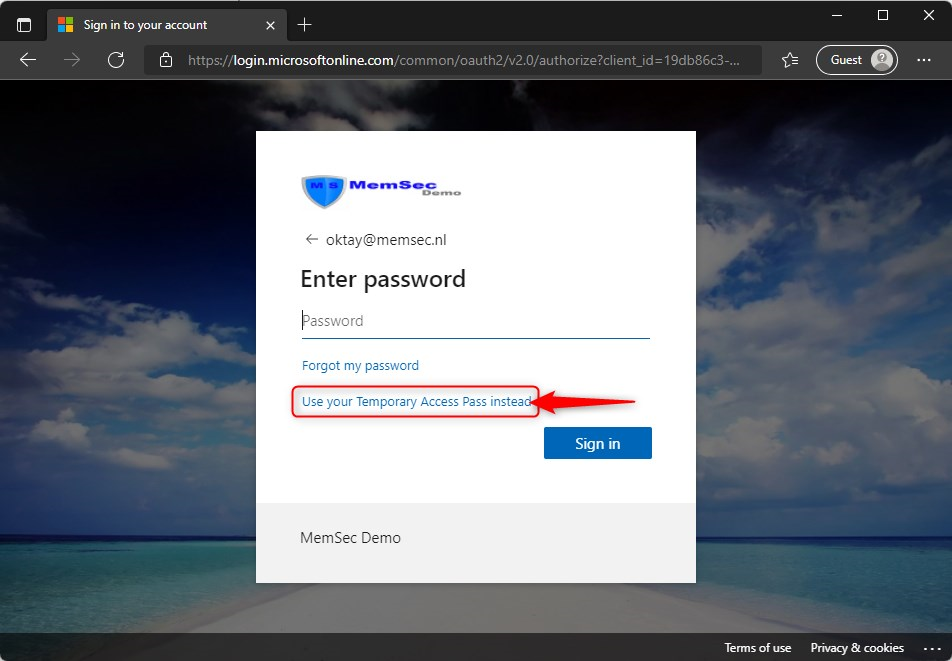
- Have the user open a web browser on any device and go to https://aka.ms/mysecurityinfo
- Type in the e-mail address to sign-in.

Then before typing the password, click on “Use your temporary Access Pass instead”
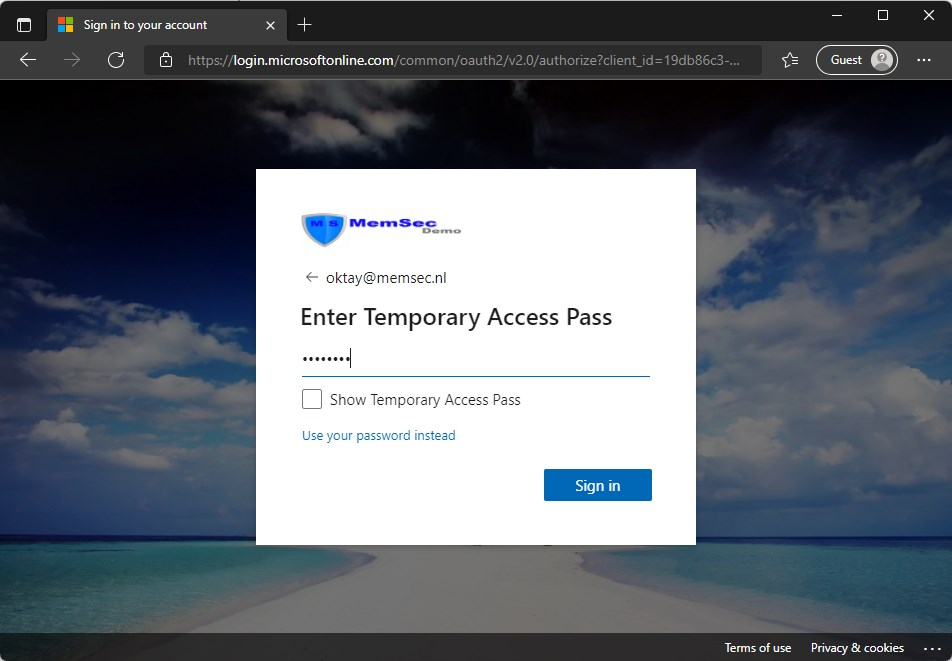
Type in the temporary Access Pass and click on Sign in
Now setup the Authenticator app for MFA. (you are still able to use your password if you need to) I’m going to skip this part and assume you know how this works. Just follow the instructions
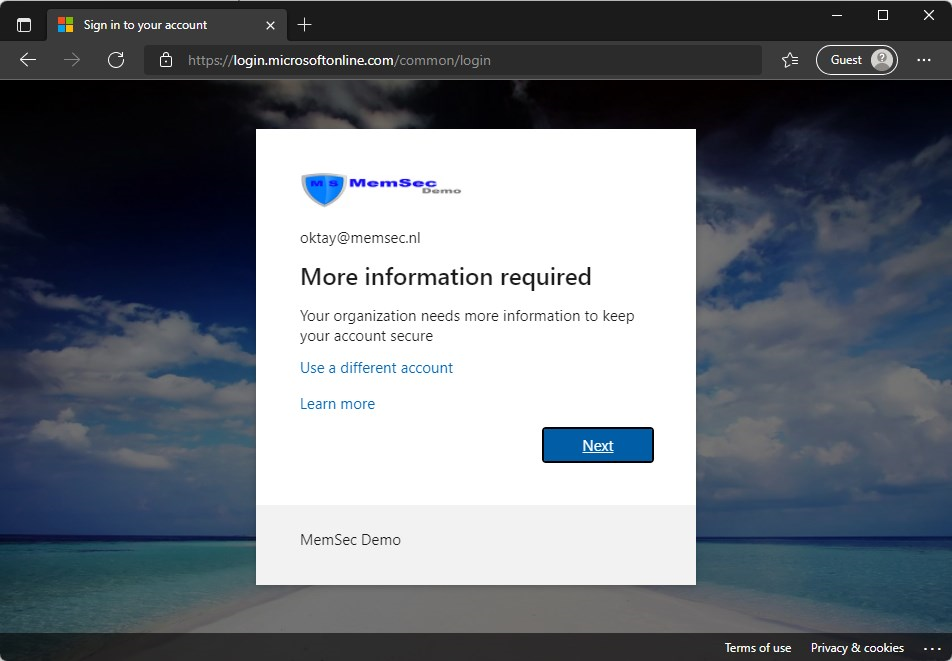
When you are ready with configuring the Authenticator app, you will land on your Security Info page, where you can register Authentication methods that are available.
Now, lets add a security key;
- Click on Add method
- Select Security key
- Click Add
- Follow the instructions. If you want to learn more. See my previous blog

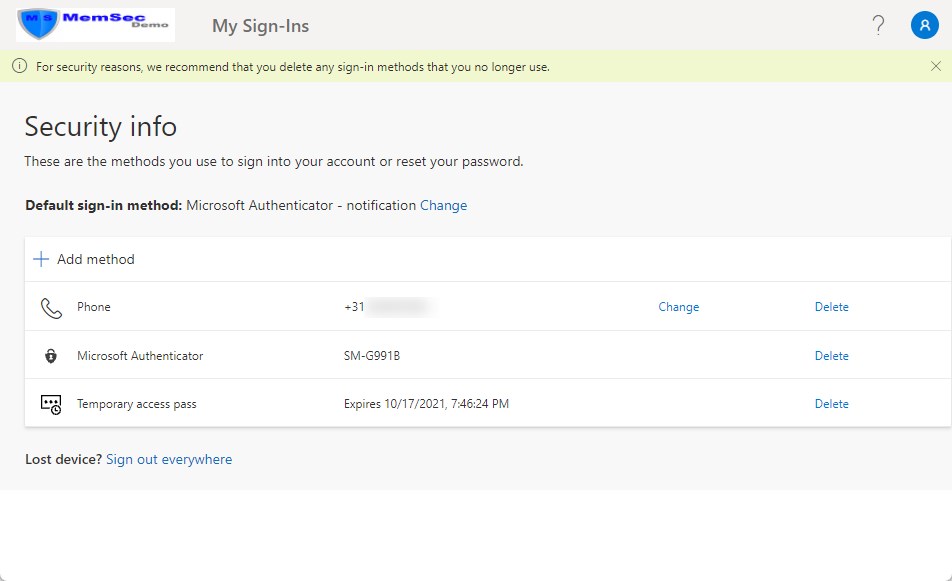
When you are ready, the security key will show on the Security Info page:
Windows Autopilot enrollment without a password
Now that we have setup a security key, the user is ready to enroll a Windows 11 device with Windows Autopilot, without needing a password. Instead, he is going to use the Feitian ePass FIDO2 security key. In the examples/screenshots below, I’ve used VirtualBox with a Window 11 VM because VirtualBox gives me the option to use security keys to log-in to Windows. I couldn’t find a way to use the security key with a guest in Hyper-V. If you do know how-to, please let us know. I’m skipping the Windows Autopilot enrollment to the point where it gets interesting.
In the next screen fill in your e-mail address and in the next screen click on “sign in with a security key”

Insert your security key. That’s the one you configured previously.
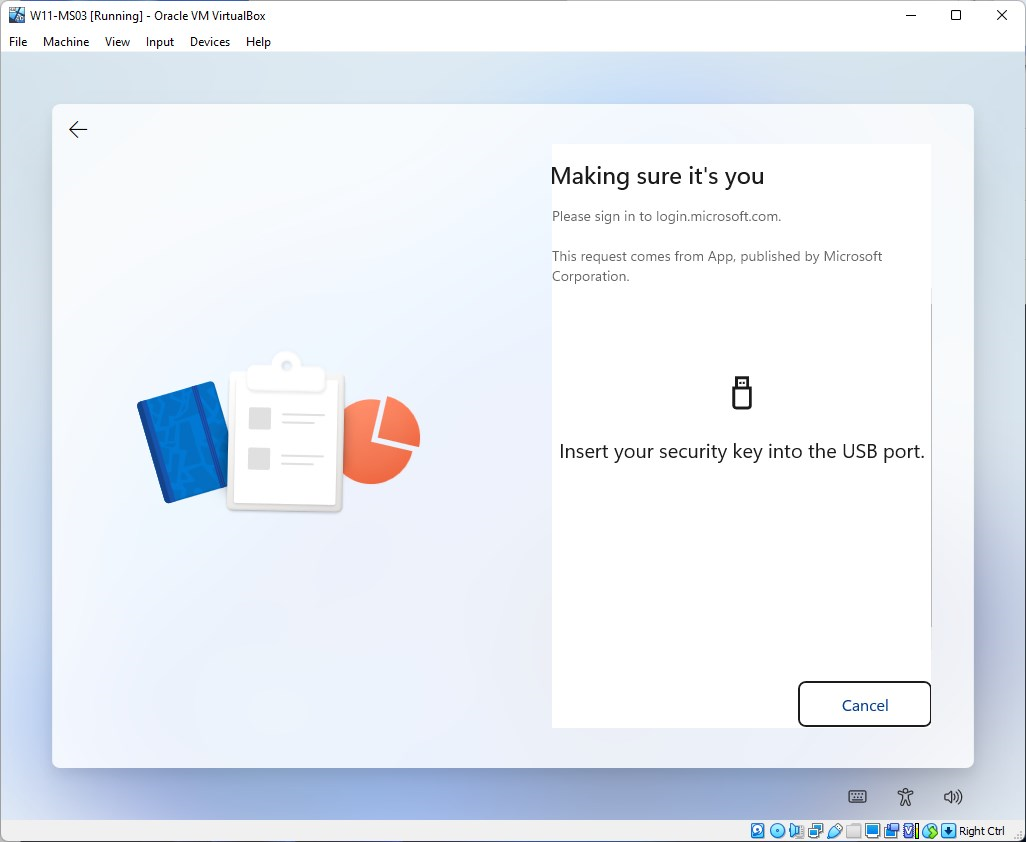
Enter your Security key PIN code and click on OK

Finally, touch your security key
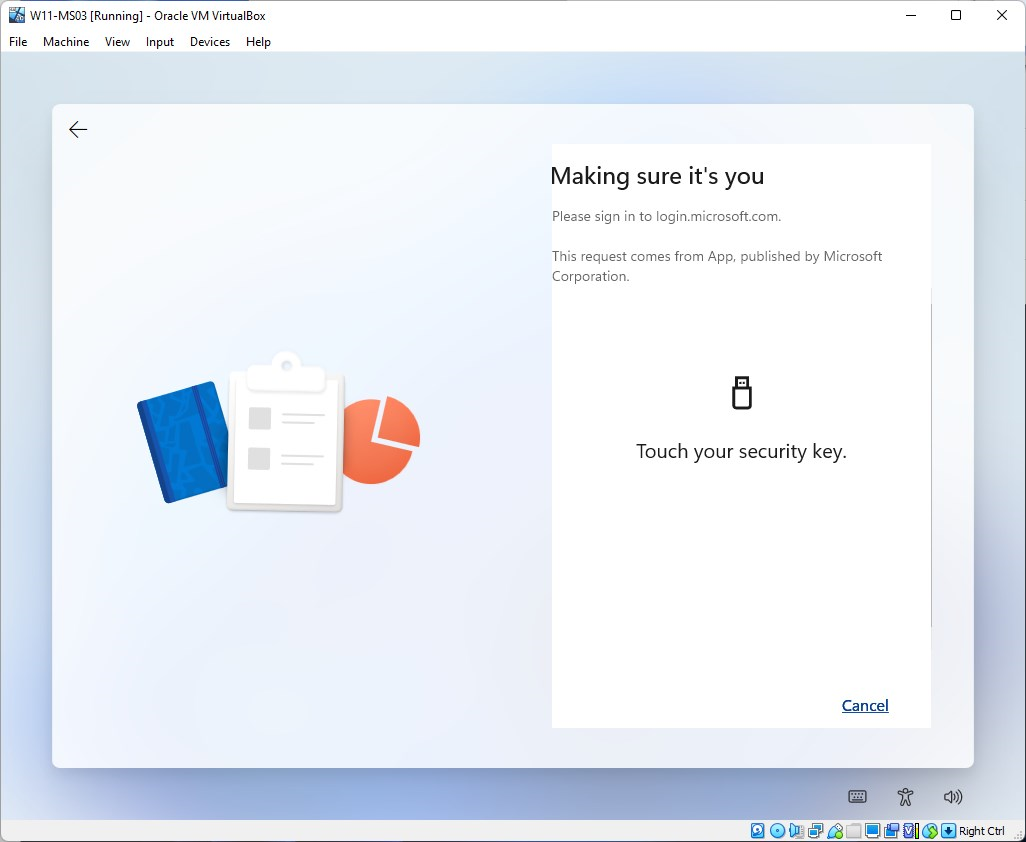
Get a cup of coffee…

Now setup Windows Hello
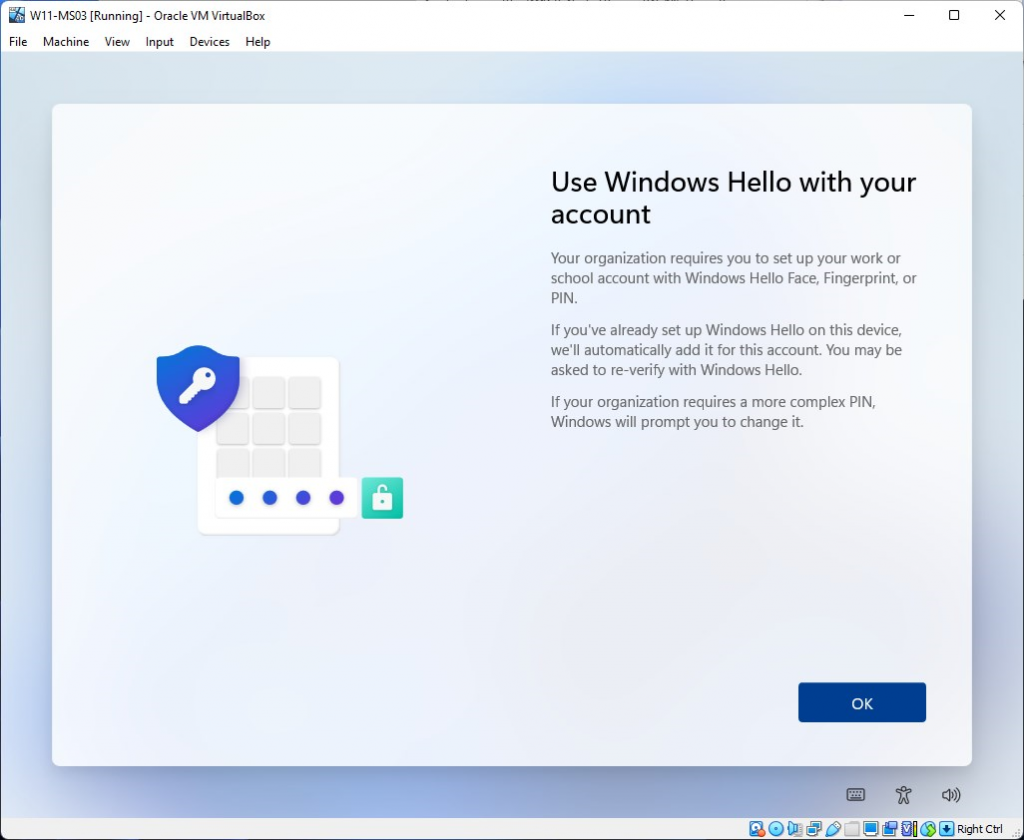
I’m using the Windows Hello PIN option here
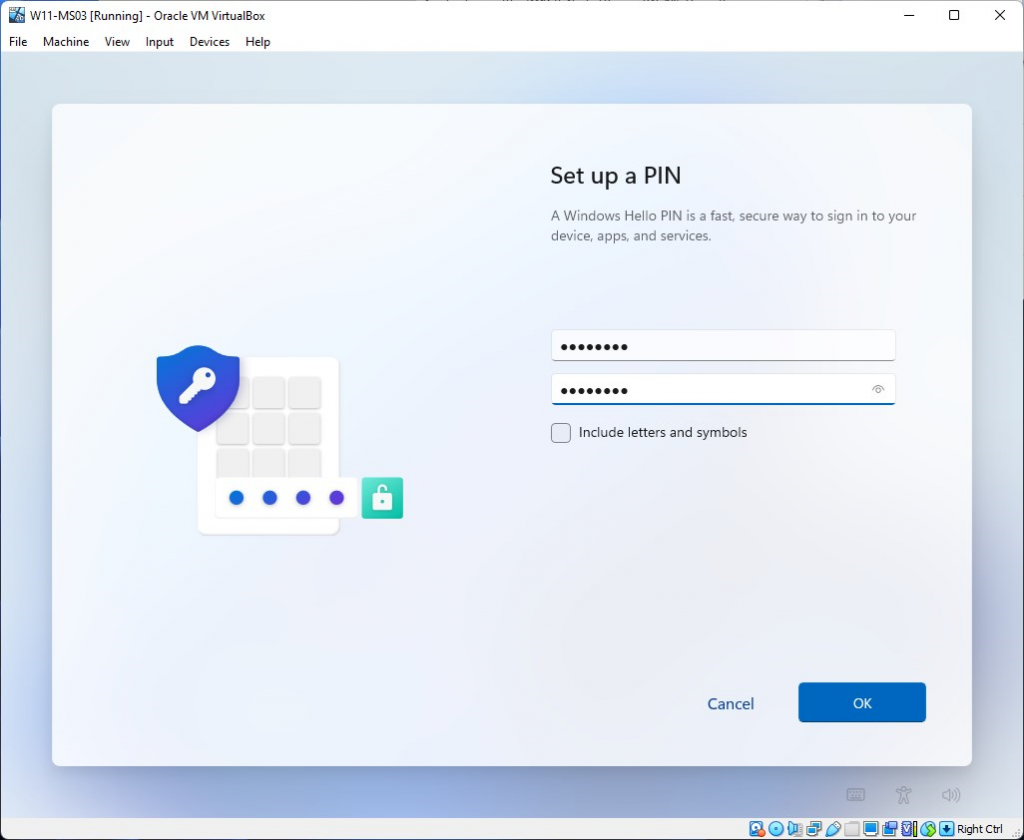
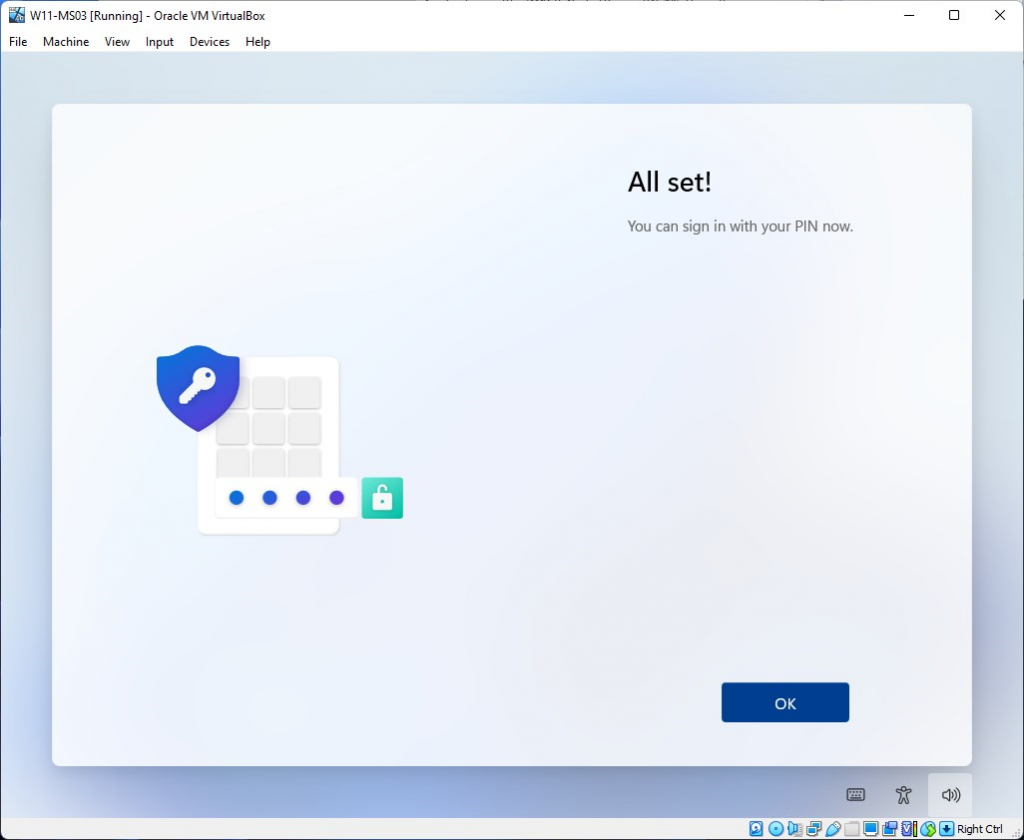
You are now ready to sign-in using Windows Hello PIN or your security key
Sign-in to Windows 11 with a security key
Let’s reboot the device and see what happens. Upon reboot, you will see the login screen asking to insert your security key.
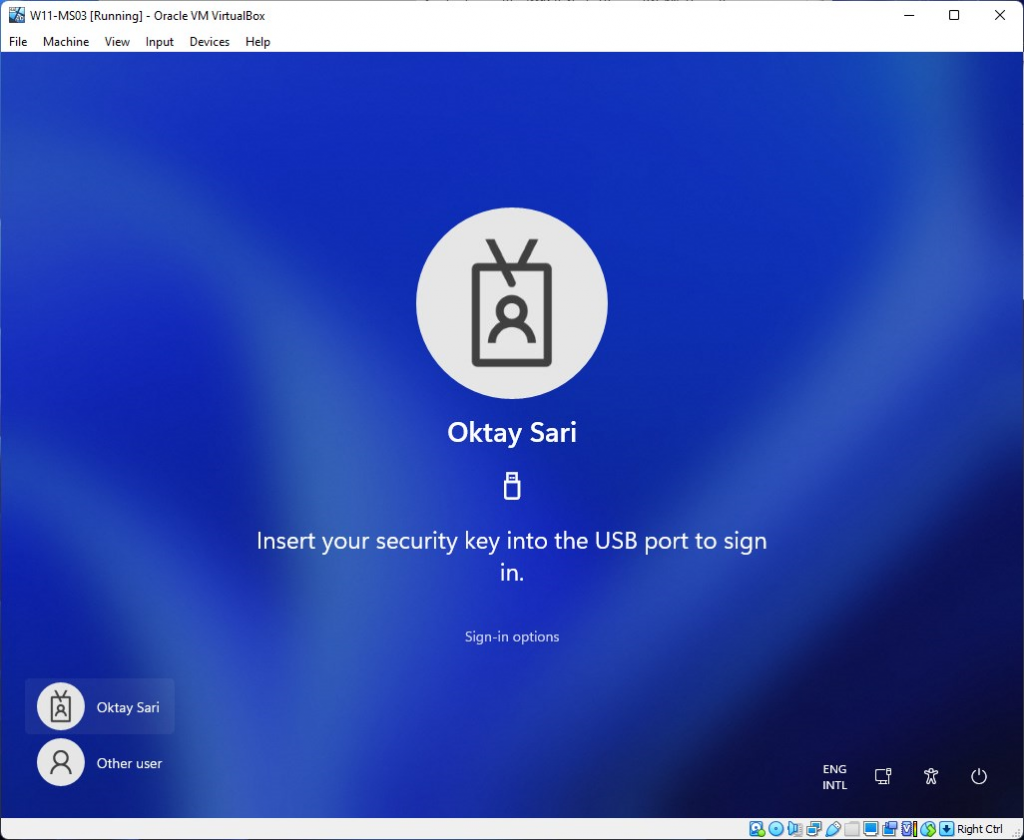
When you insert the key, it will ask for the Security key PIN. Type in your PIN and click on ENTER
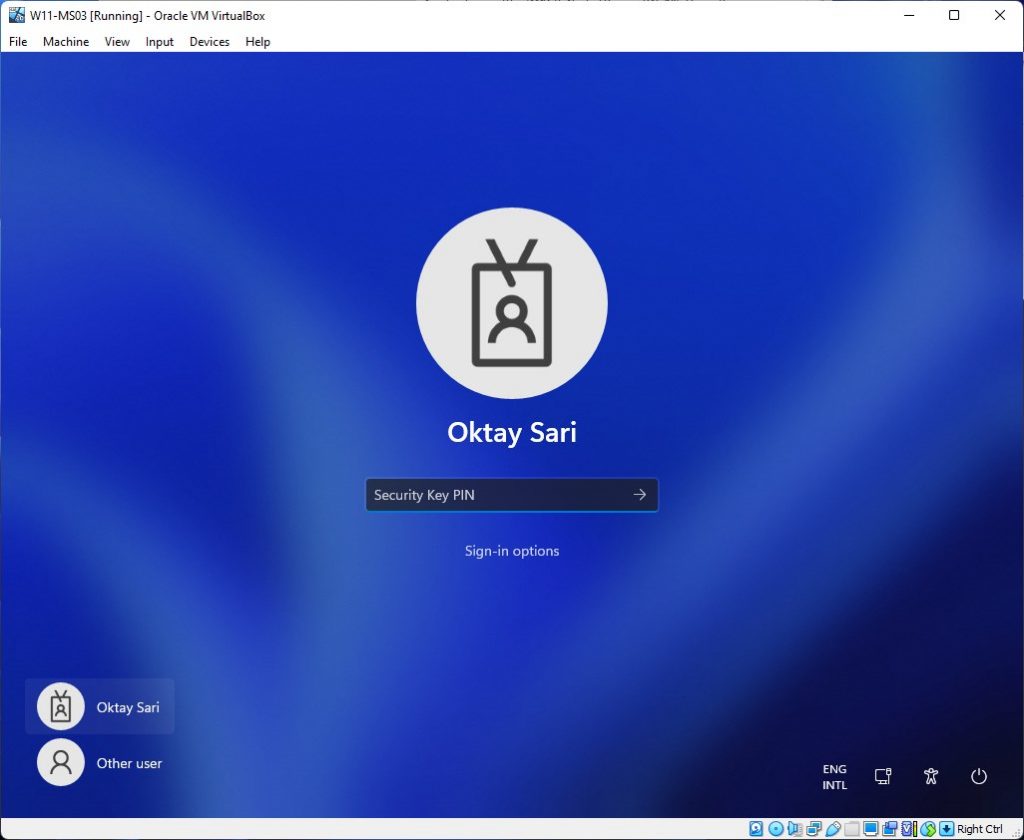
You’re good to go 😉
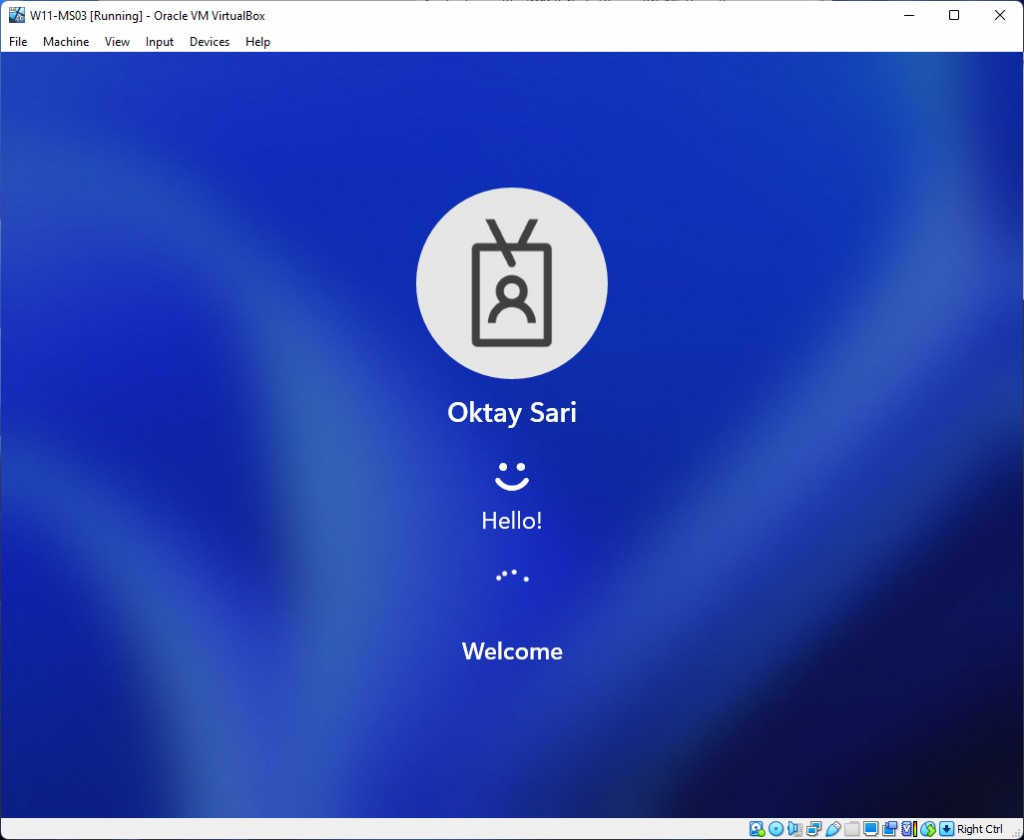
Here’s the Windows 11 desktop.

Now let’s start the Edge browser and see if SSO works.
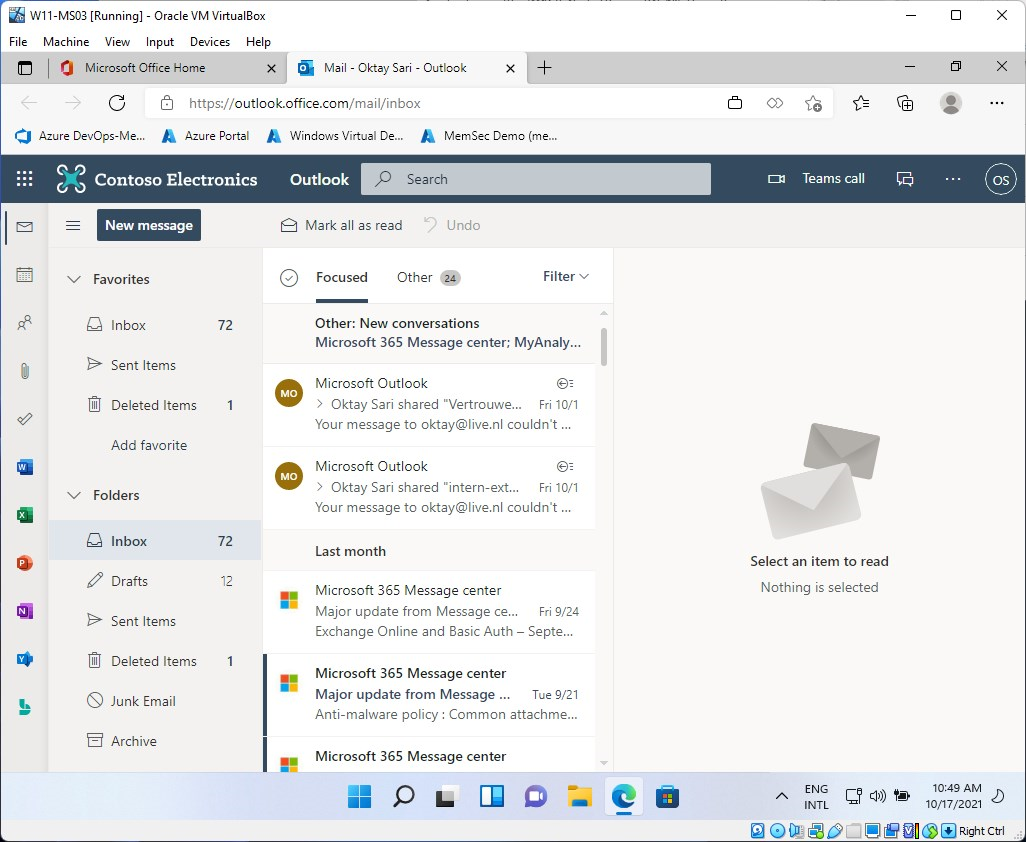
As you can see, everything is OK and password freedom already feels like…well…passwordless…
Passwordless experience on BYOD
When users want to sign-in to Microsoft 365 apps using a browser on a BYOD, they can sign-in using the security key.
Go to https://portal.office.com on a BYOD and type in your e-mail address
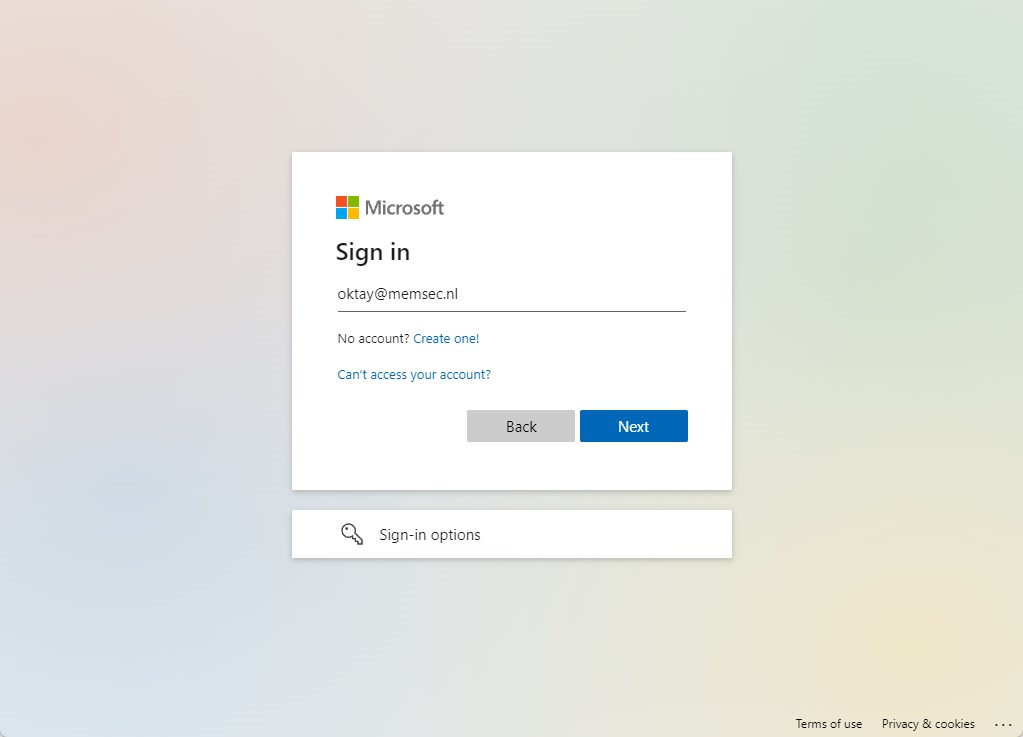
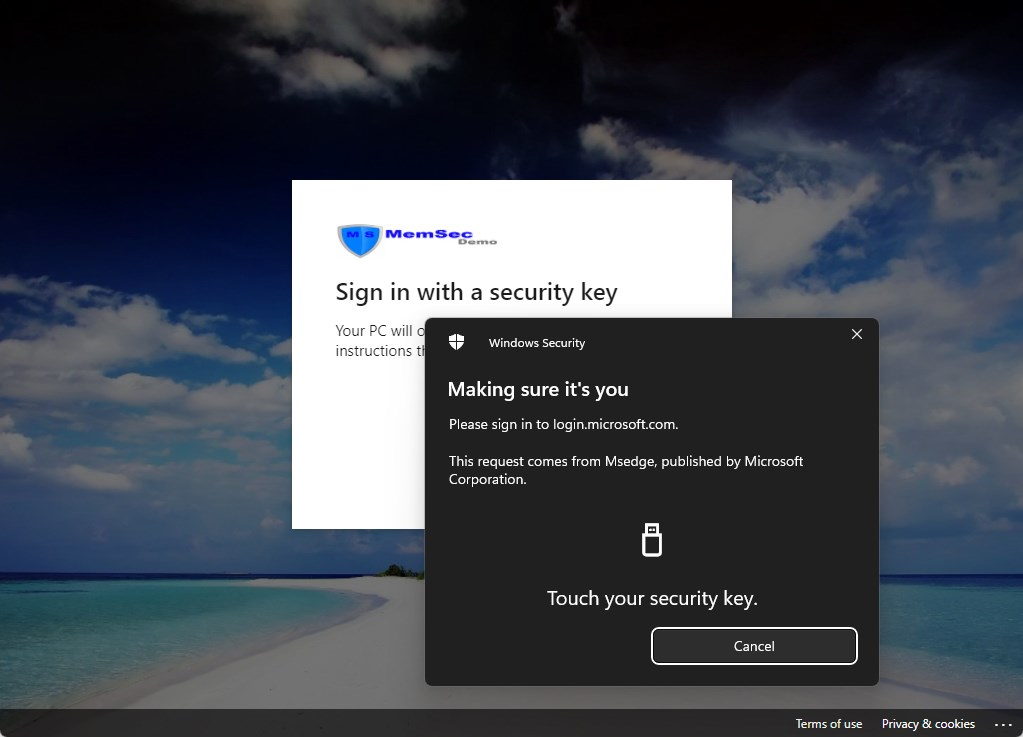
You will be prompted to Sing in with a security key. Insert the key and follow the instructions:
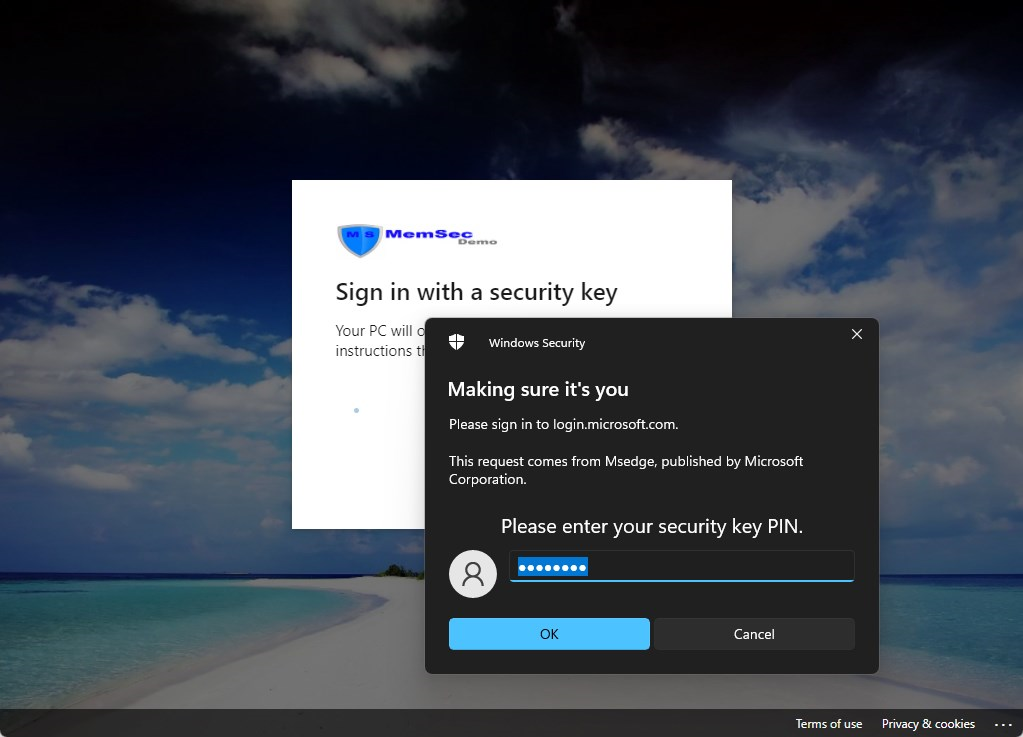
Type in your Security key PIN and click on OK
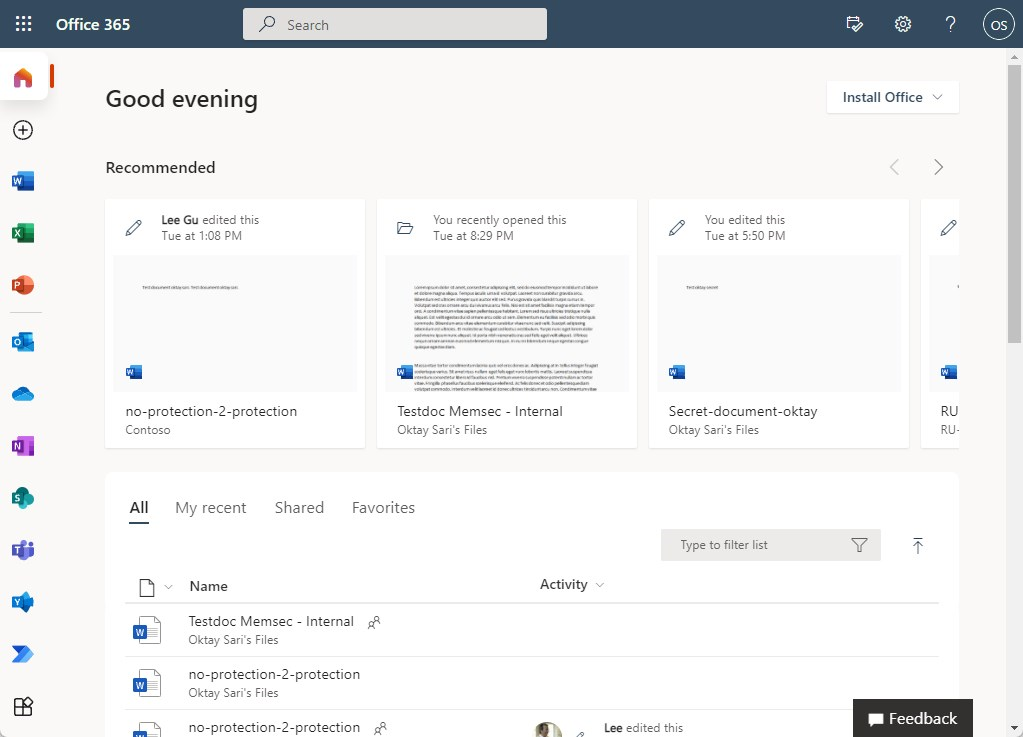
There you have it. Even on unmanaged devices, there’s no need for a password.
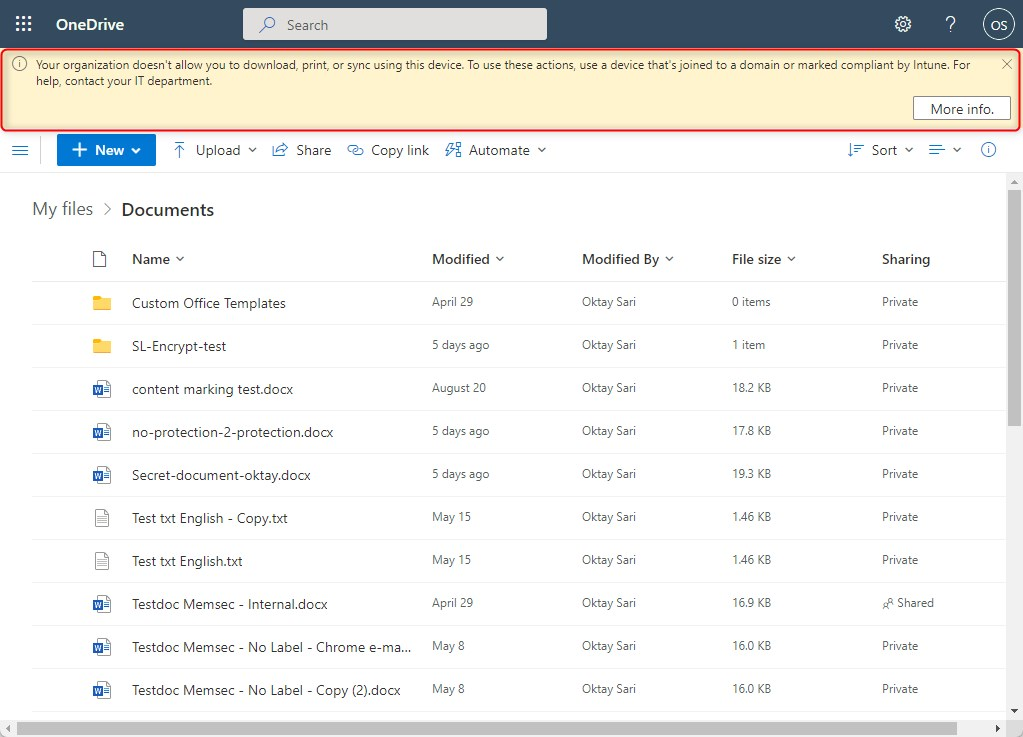
I’ve configured restricted access to SPO and OneDrive from BYOD for extra security.
Final thoughts
Temporary Access pass helps with your passwordless journey and FIDO2 Security keys are a great next step. However, remember that even with all this configured, users are still able to actually use a password. They might not know their password, but with self-service password reset configured most of the time, they can simply reset their password. Especially when users forget their security key there is a risk, they will use passwords. Therefore, you should already think about the next steps.
Microsoft has a good document on passwordless strategy and explains the 4 steps to password freedom;
- Develop a password replacement offering
- Reduce user-visible password surface area
- Transition into a passwordless deployment
- Eliminate passwords from the identity directory
This post covers points 1 to 3 mostly and we transitioned a user to passwordless: The user never types the password, never changes the password and does not know the password.
The next step will be to:
- Eliminate the option to use passwords when signing into Windows by excluding the password credential provider.
- Only allow Windows Hello for Business or a security key to sing in to Windows
- Enable passwordless sign-in with the Microsoft Authenticator app
but that is something I might cover in another blog.
[…] Password Freedom. What would a world without passwords look like? Pretty perfect, isn’t it? It’s closer than you can imagine. […]
[…] Password Freedom (allthingscloud.blog) […]